If you are just learning about Linux or you have been wanting to learn more, there’s never been a better time to try it out for yourself! Learning Linux has helped me tremendously as a QA tester and then as an SDET.
Tip: If you are super new to linux and not sure what it is, here are a couple resources to get started. Once you have read and/or watched these, then continue on with the tutorial:
I’m going to show you how to play with one of the most user friendly distros, Ubuntu 18.04, easily right on your computer. To do this we’ll use a program called VirtualBox to virtualize the operating system on your computer no matter if you have Windows, or Mac OS X. To download VirtualBox, follow this link: https://virtualbox.org/wiki/Downloads.
Install VirtualBox
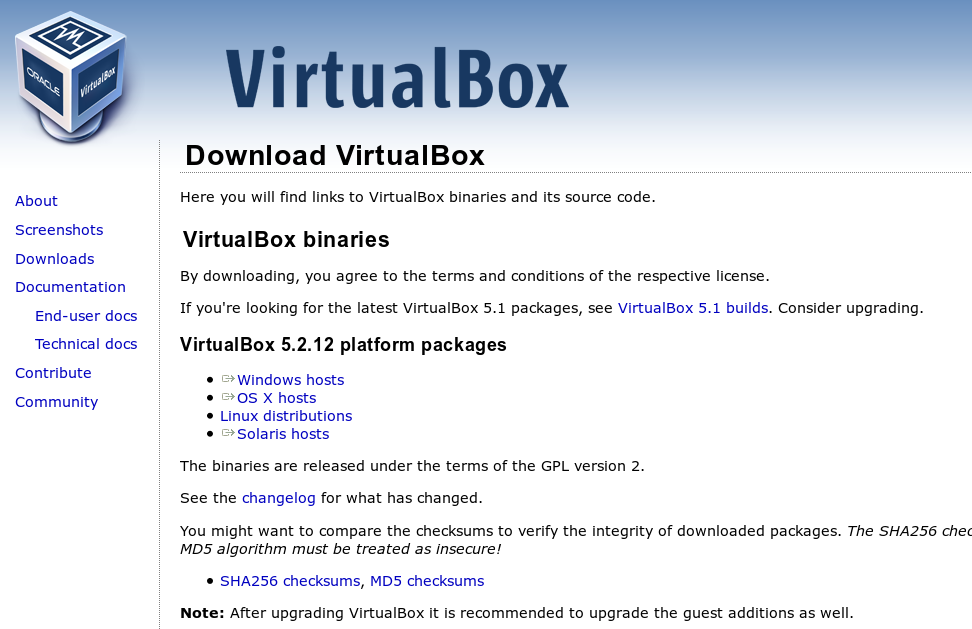
Under VirtualBox 5.2.12 platform packages, click on either the Windows hosts or OS X hosts link. If you’re trying Ubuntu from a different Linux distribution, first try to install VirtualBox using your distro’s package manager. Otherwise, click and choose which Linux distro you are using.
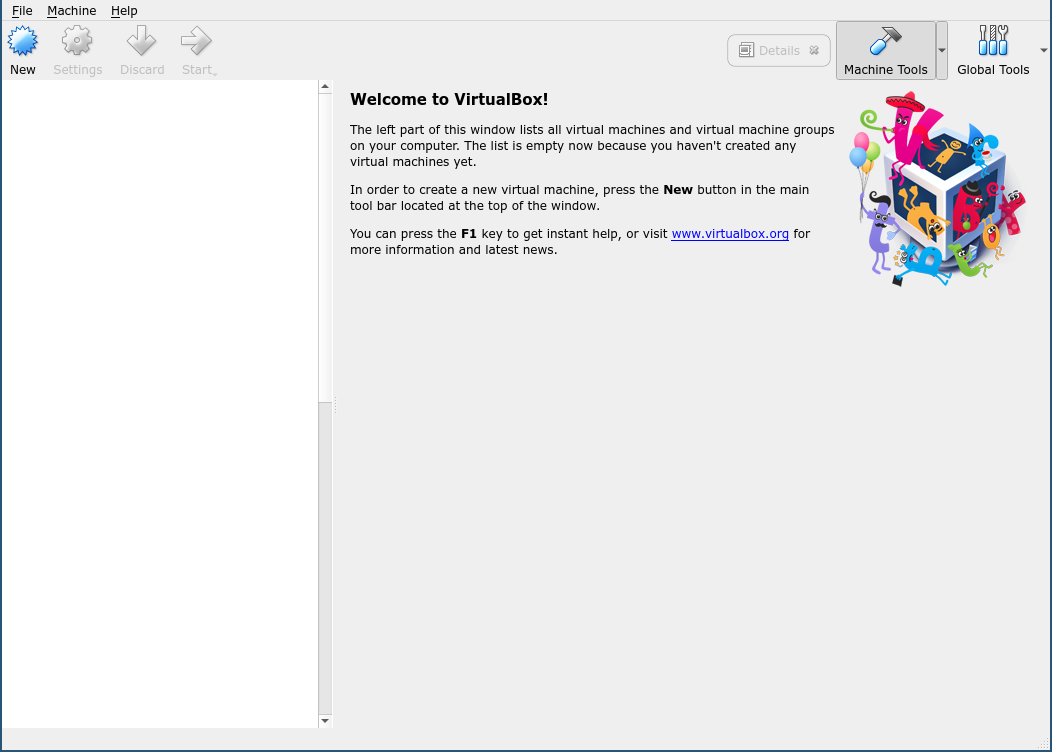
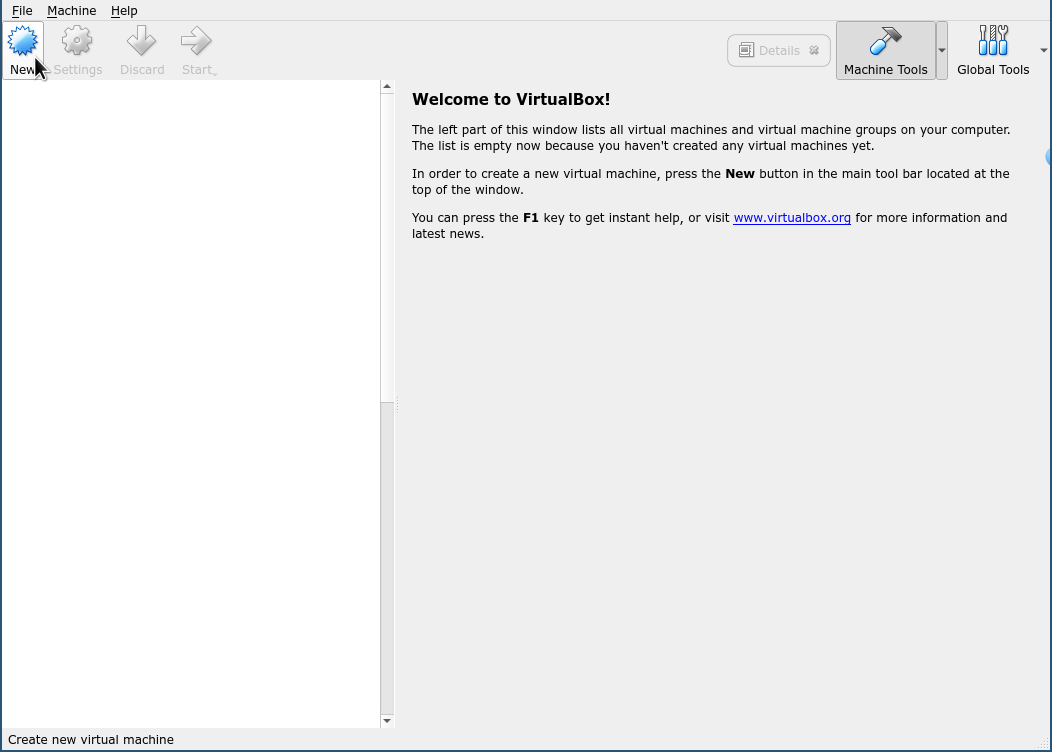
After install, this is what you’ll see when opening VirtualBox. We can’t do anything yet because we don’t have the install iso for Ubuntu. We’ll get that next.
Download Ubuntu 18.04
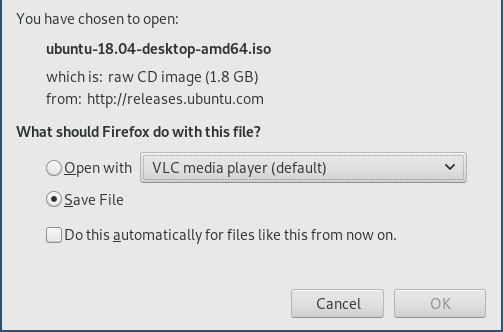
You can either go to Ubuntu’s website and find the download link, or click here for the direct desktop iso download link: http://releases.ubuntu.com/18.04/ubuntu-18.04-desktop-amd64.iso
Configure the Virtual Machine
Before we can install the iso, we need to create the virtual machine to install on. With VirtualBox this is really easy and I’ll lead you through every step.
Click New to create the new virtual machine.
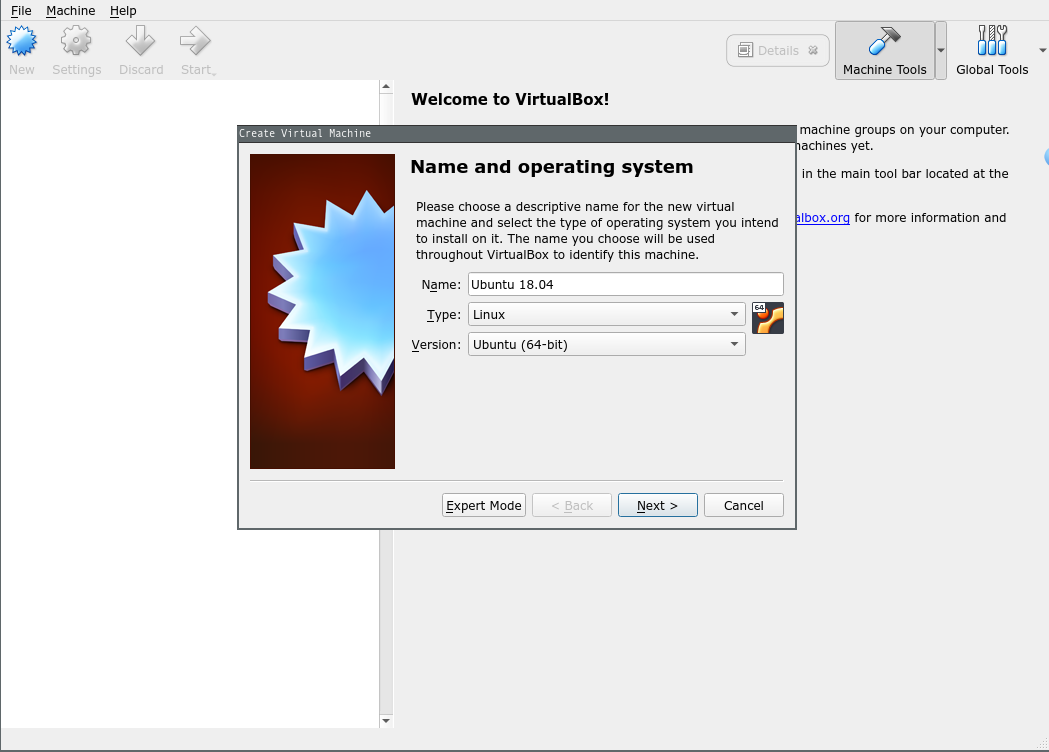
Type in the name of the virtual machine. Typing in Ubuntu 18.04 causes the Type and Version fields to automaticially change to match. If you want to add a different name, just be sure to change the Type and Version fields to match. Click Next.
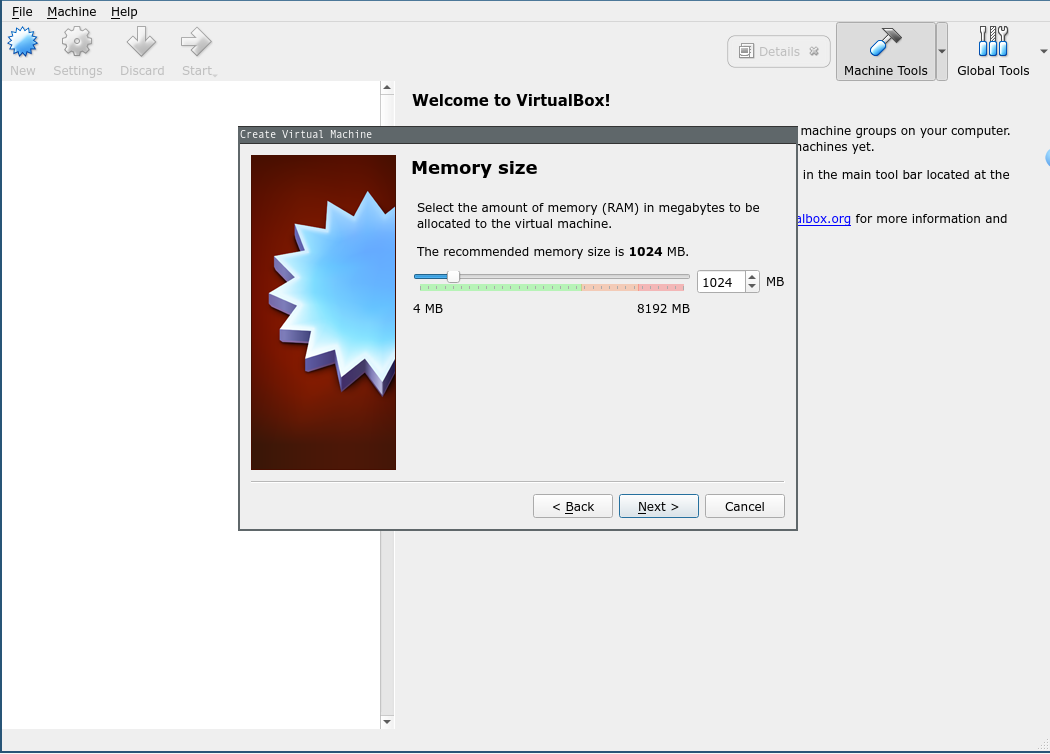
Set the memory you would like to allocate for the virtual machine. If you are just going to play around, you probably don’t need that much. I’m setting 1024 MB (1GB) here. VirtualBox knows how much RAM your computer has and will show the recommended RAM size. Click Next.

Here you can decide if you want your virtual machine to have a local hard drive. For this tutorial I will just choose a 10GB hard drive. Click Create.
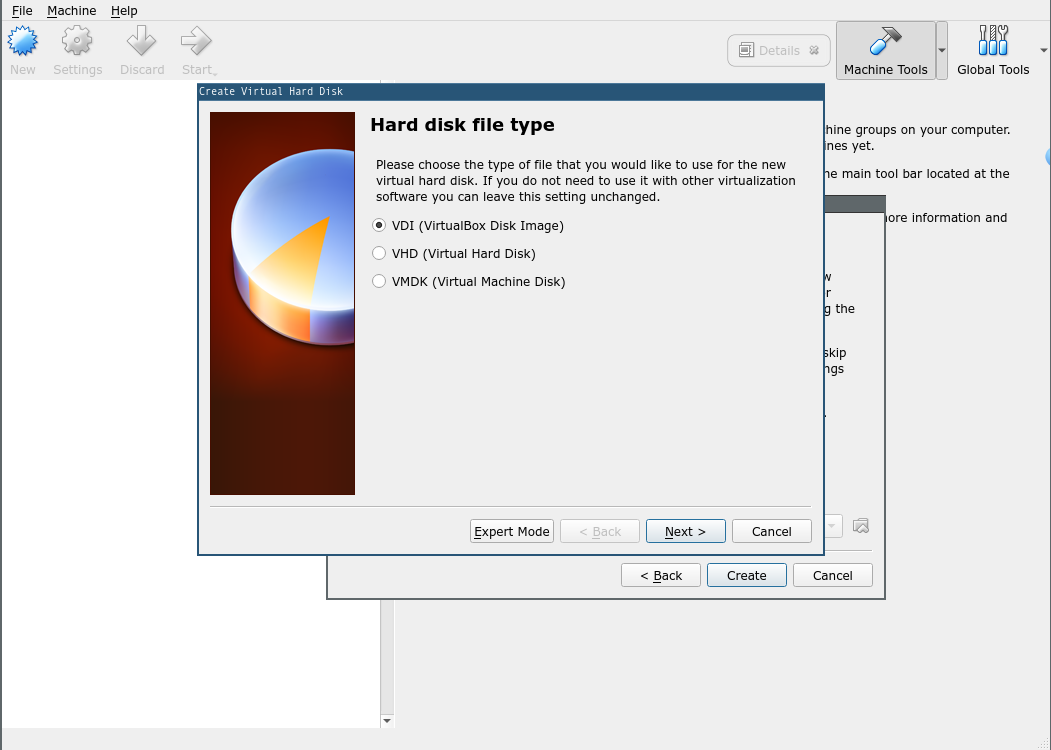
You can choose the default VirtualBox Disk Image (VDI) as the hard drive type if you just want to experiment with Ubuntu. To export this virtual machine to another hypervisor, I would suggest a more generic file type. To choose from other types, click Expert Mode. Otherwise click Next.
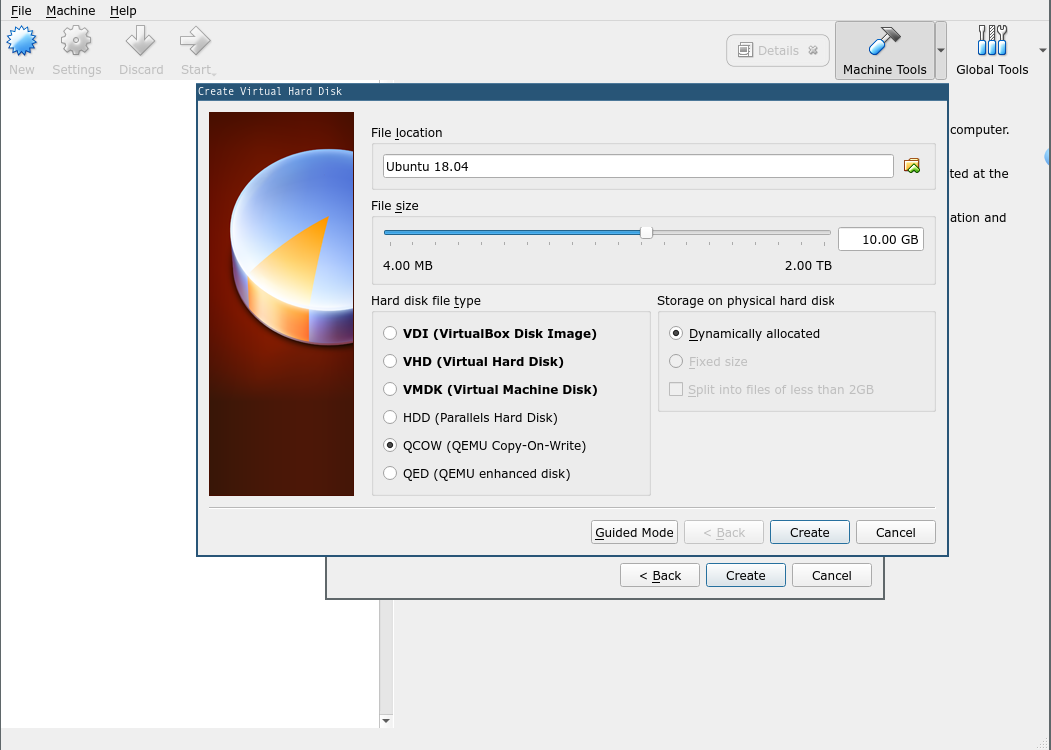
I’ve had more experience with the qcow file type so I’ll be choosing QCOW. If you chose the VDI file type, skip this step. Also, if you want to learn more about the QCOW file type, go to –> https://en.wikipedia.org/wiki/Qcow
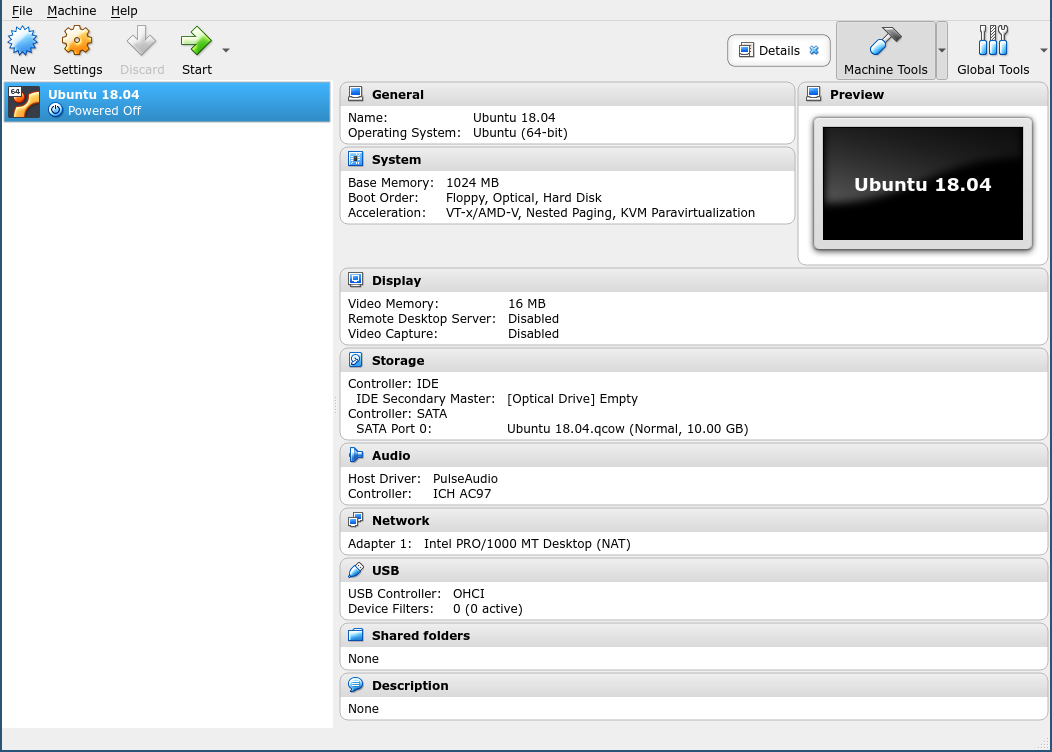
And you’re done configuring the virtual machine! This is what it will look like when you’re done!
Installing Ubuntu 18.04 on VirtualBox
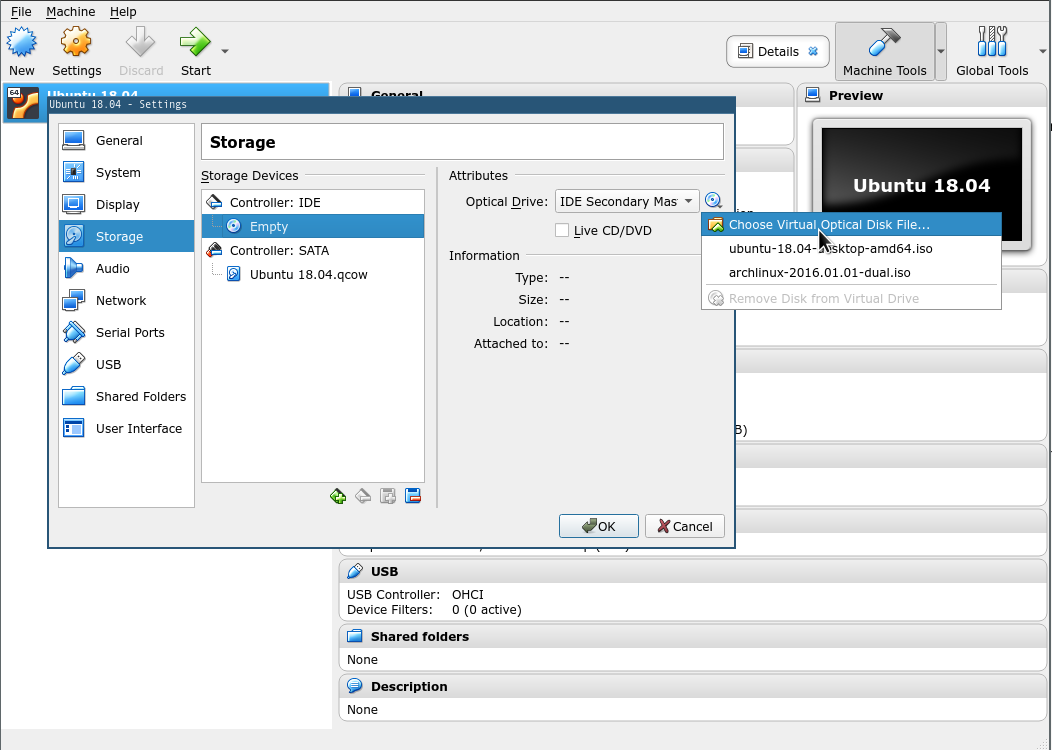
Click on the orange Settings gear at the top left. On the settings window, go into the storage settings and under Controller: IDE click the Empty CD icon. Then click on the CD drive icon after the Optical Drive drop down and click on Choose Virtual Optical Disk File.... Locate the iso you downloaded earlier.
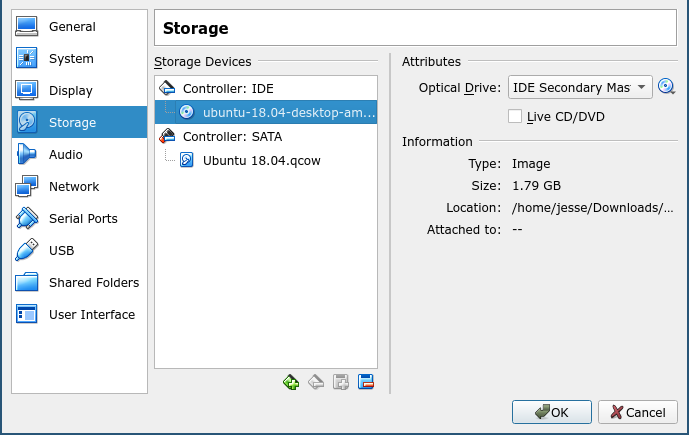
Once you’ve selected the Ubuntu 18.04 desktop iso, your storage window should look like this with the iso under Controller: IDE. Now click Ok.

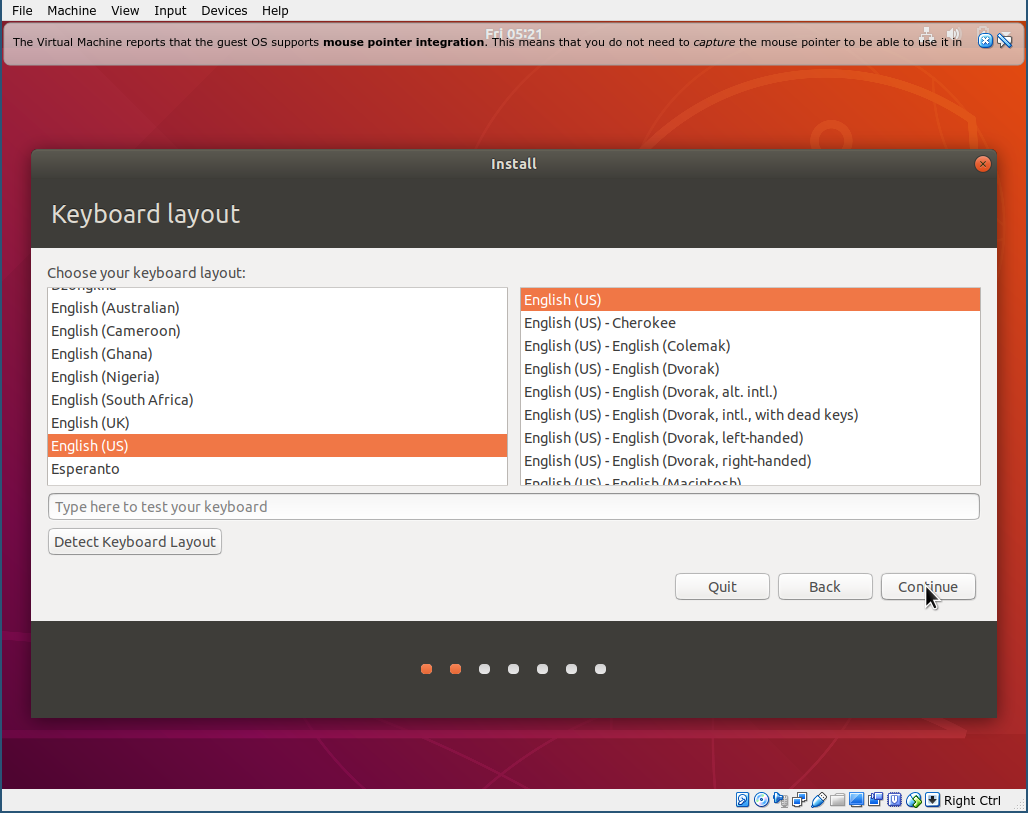
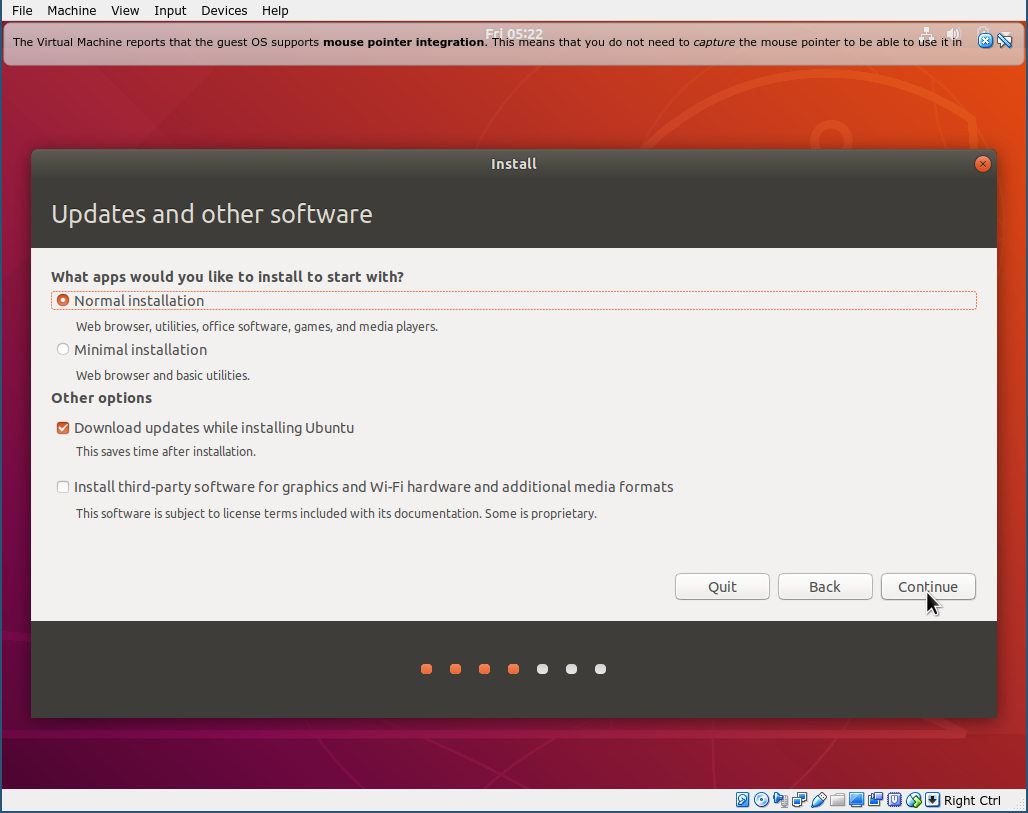
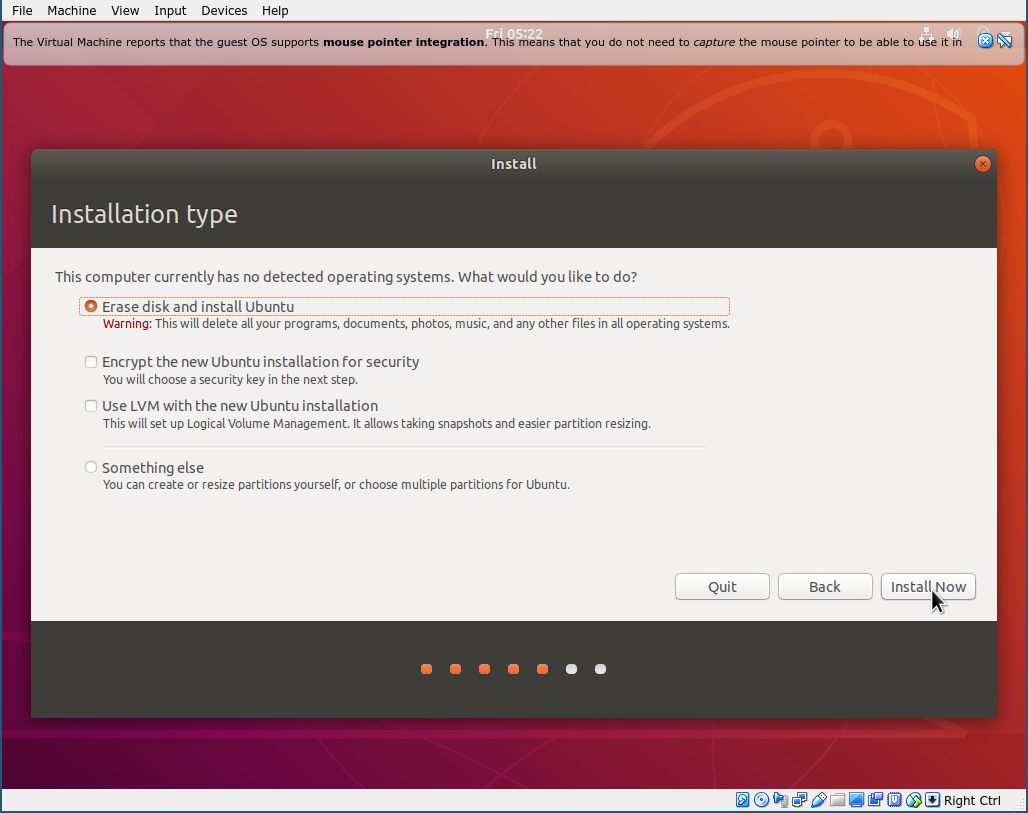
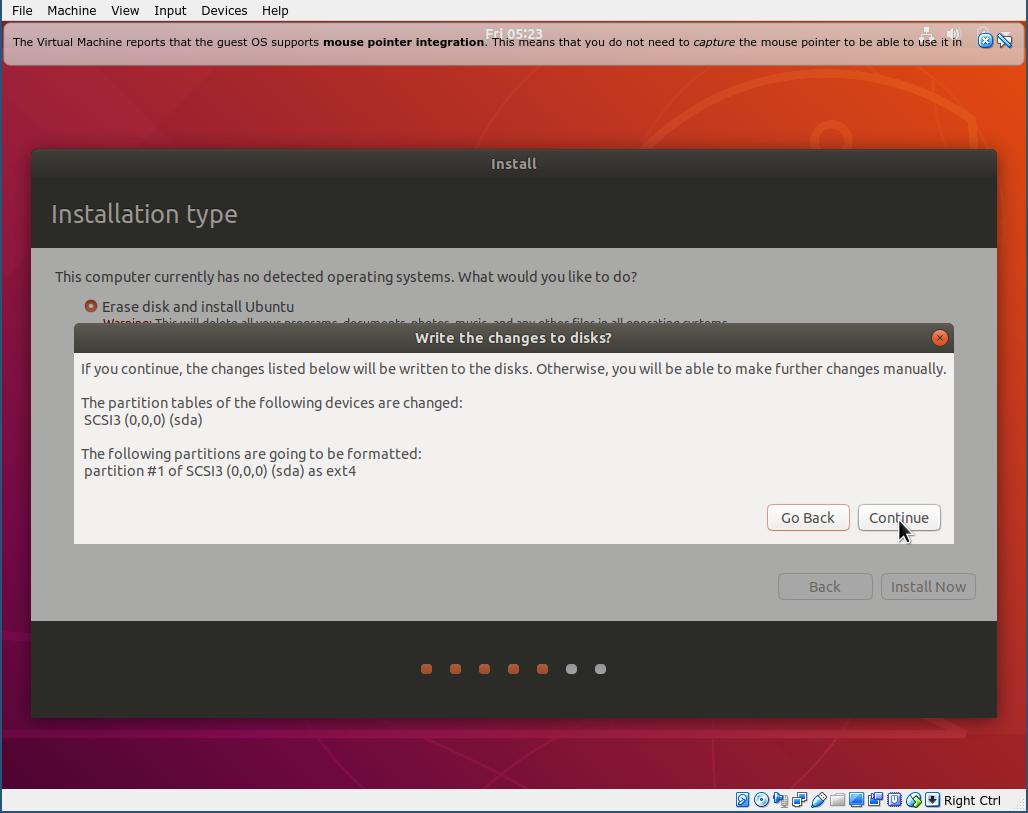
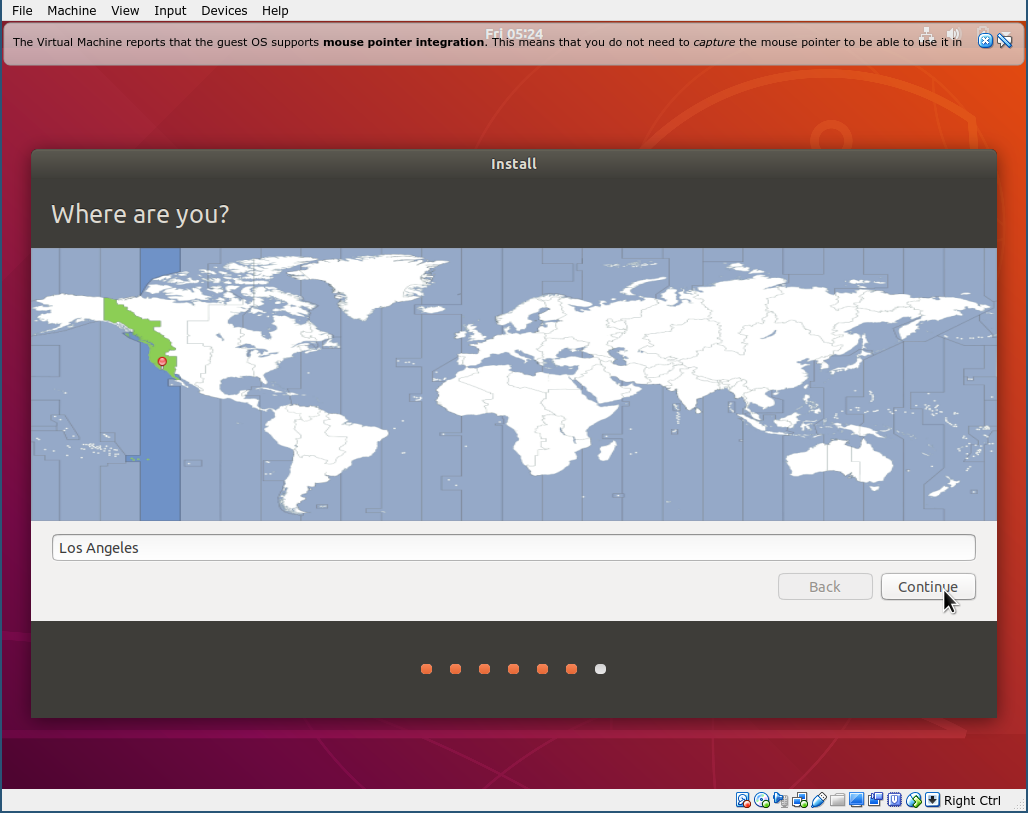
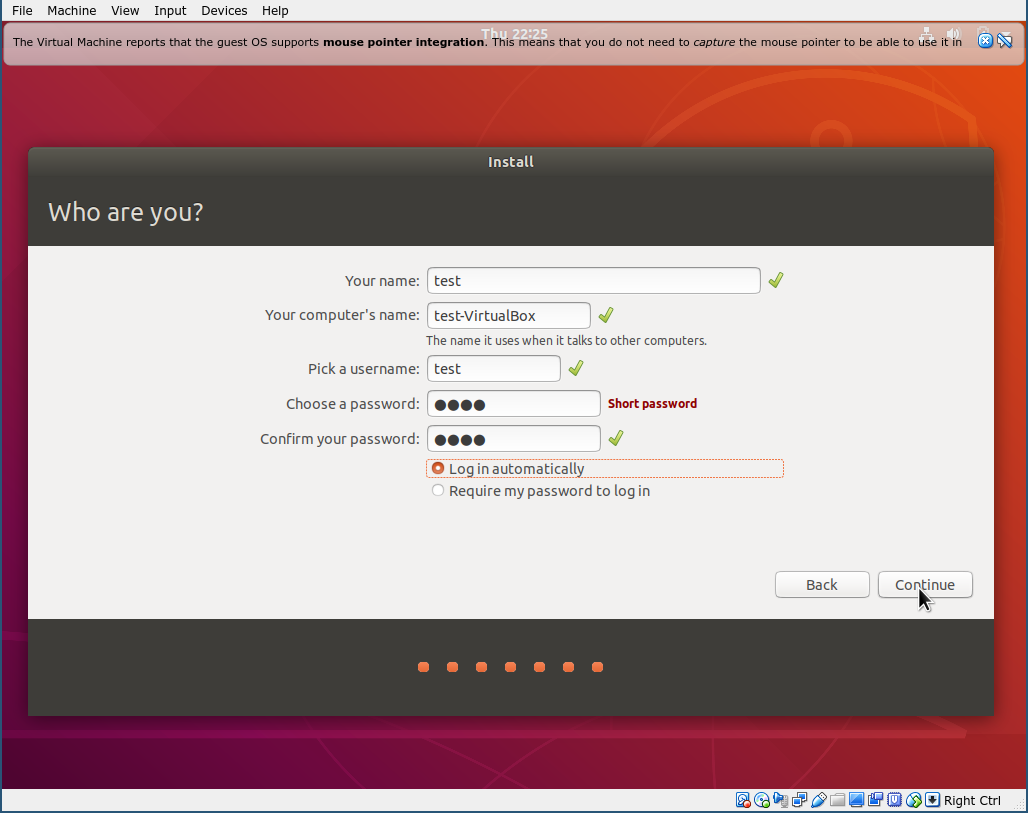
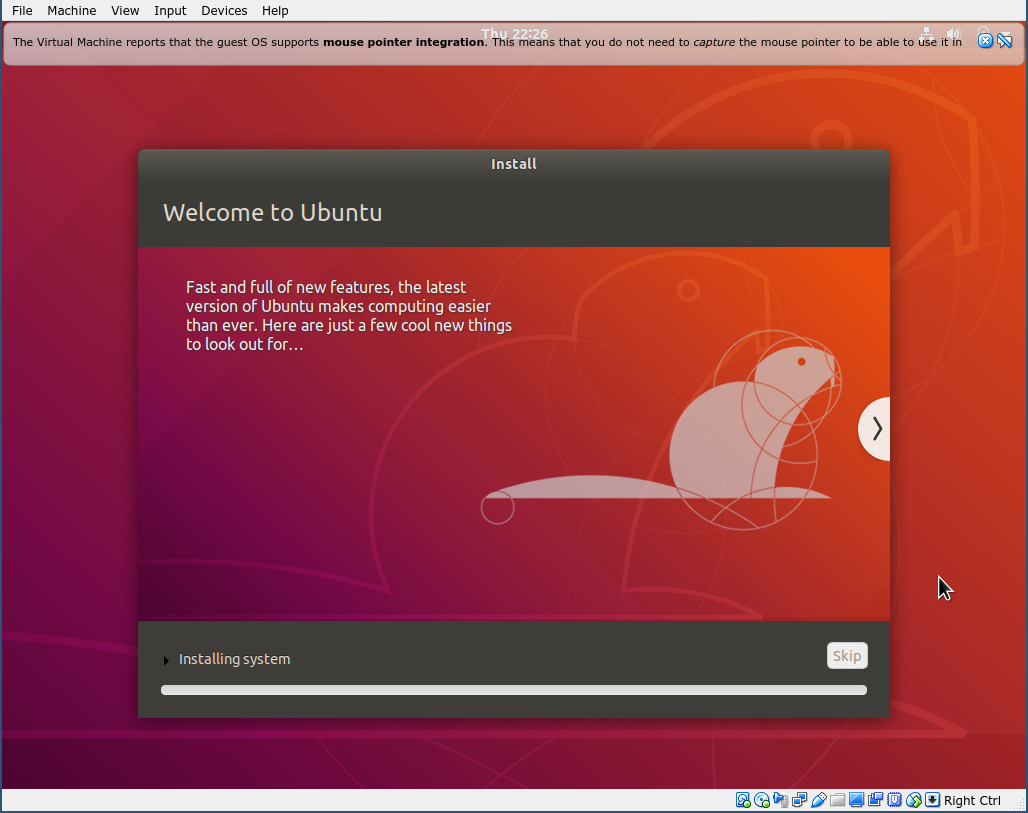
We’re almost there! The following steps are pretty self explanitory from the Ubuntu installer. I’ve included the screenshots so you can first take a glance of what kind of configurations you’ll be asked but they have made their installer fairly easy. Just click the green Start button at the top. A new window will pop up which will be the virtual machine that we are installing Ubuntu 18.04 to.
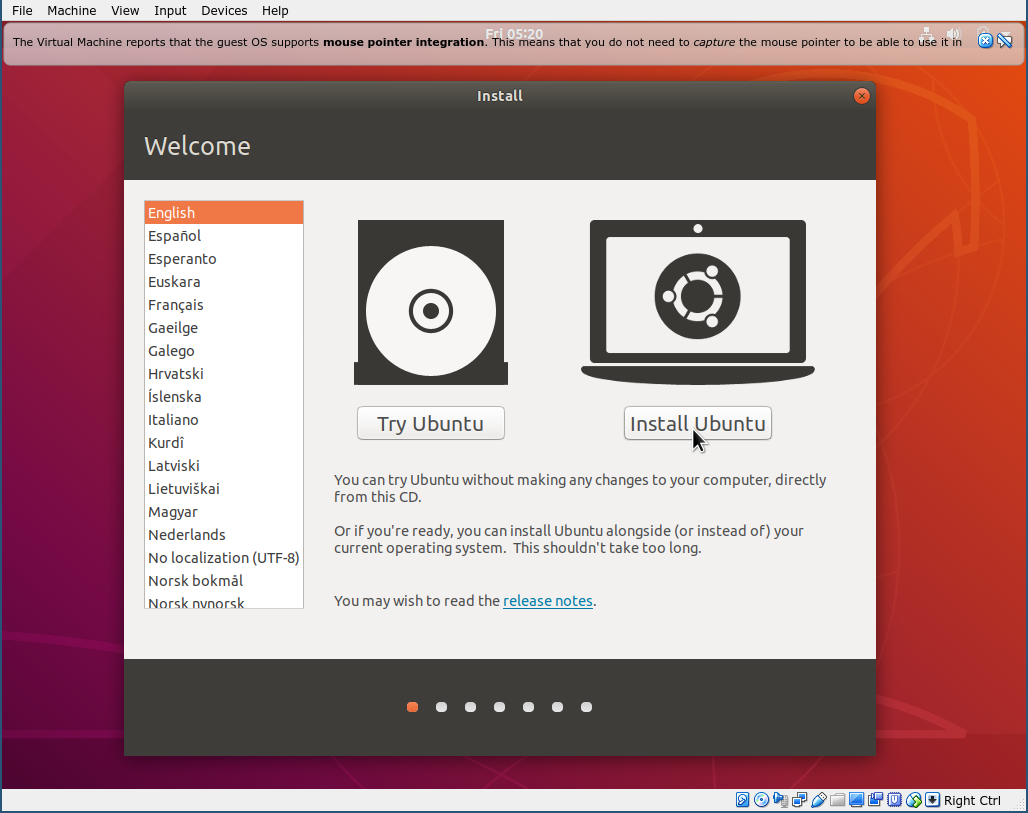
Note: From here, you could also just select the Try Ubuntu button to run Ubuntu 18.04 live. One downside is anything you change won’t be saved if you were to shut the VM down and start it back up.
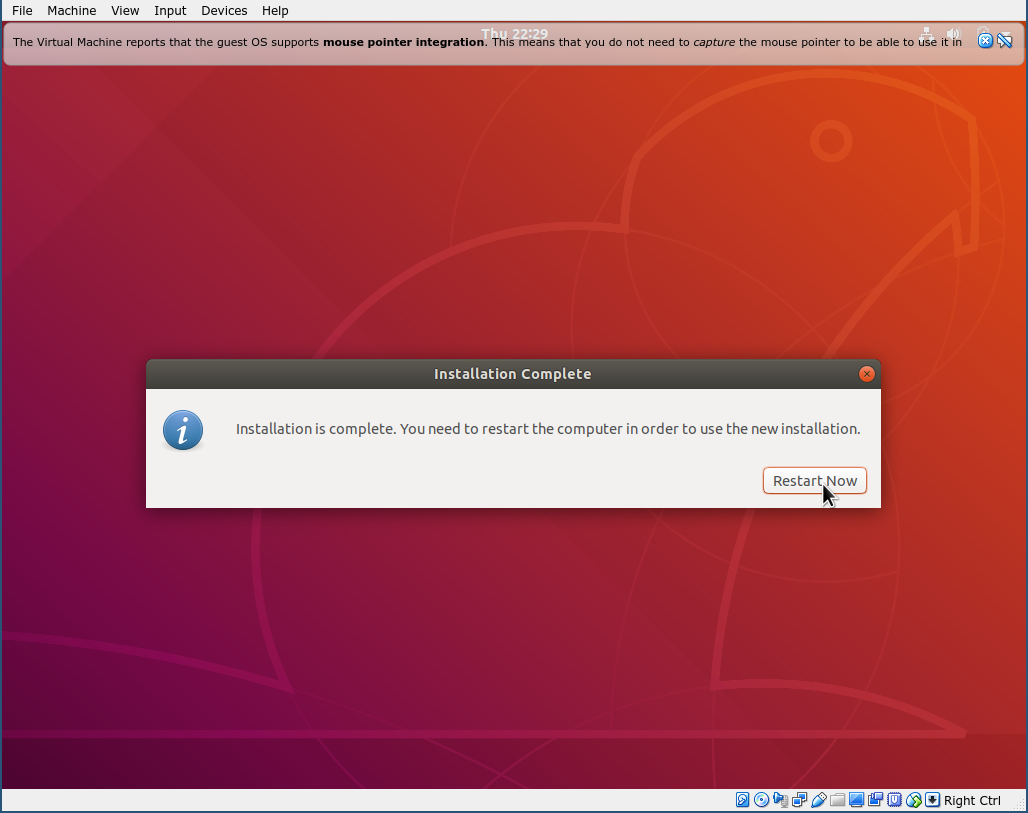
Congrats! The installation is done! Just click Restart Now.
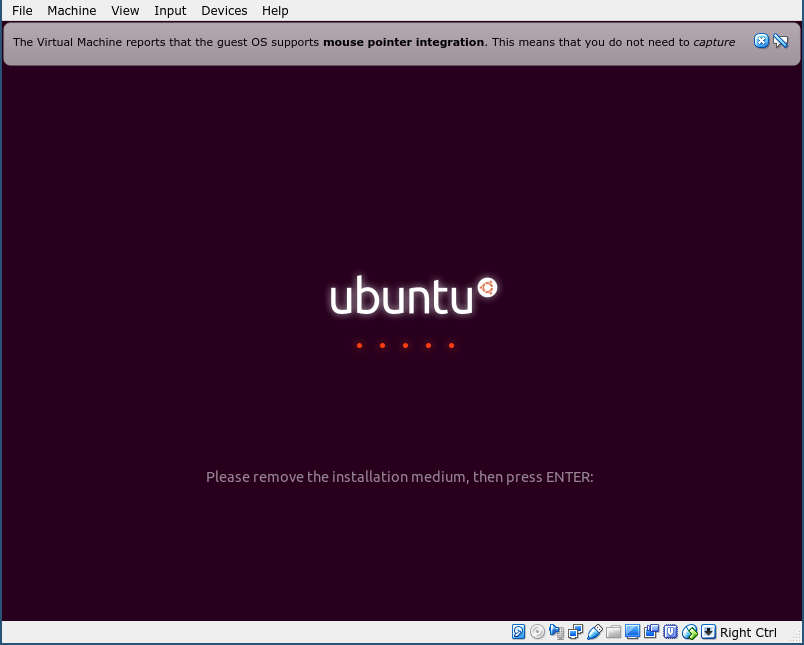
Virtual box will automatially eject the Ubuntu 18.04 desktop iso from the VM’s CD drive. This means you don’t need to do anything here except press ENTER. This will reboot the VM, and drop you right onto the desktop.
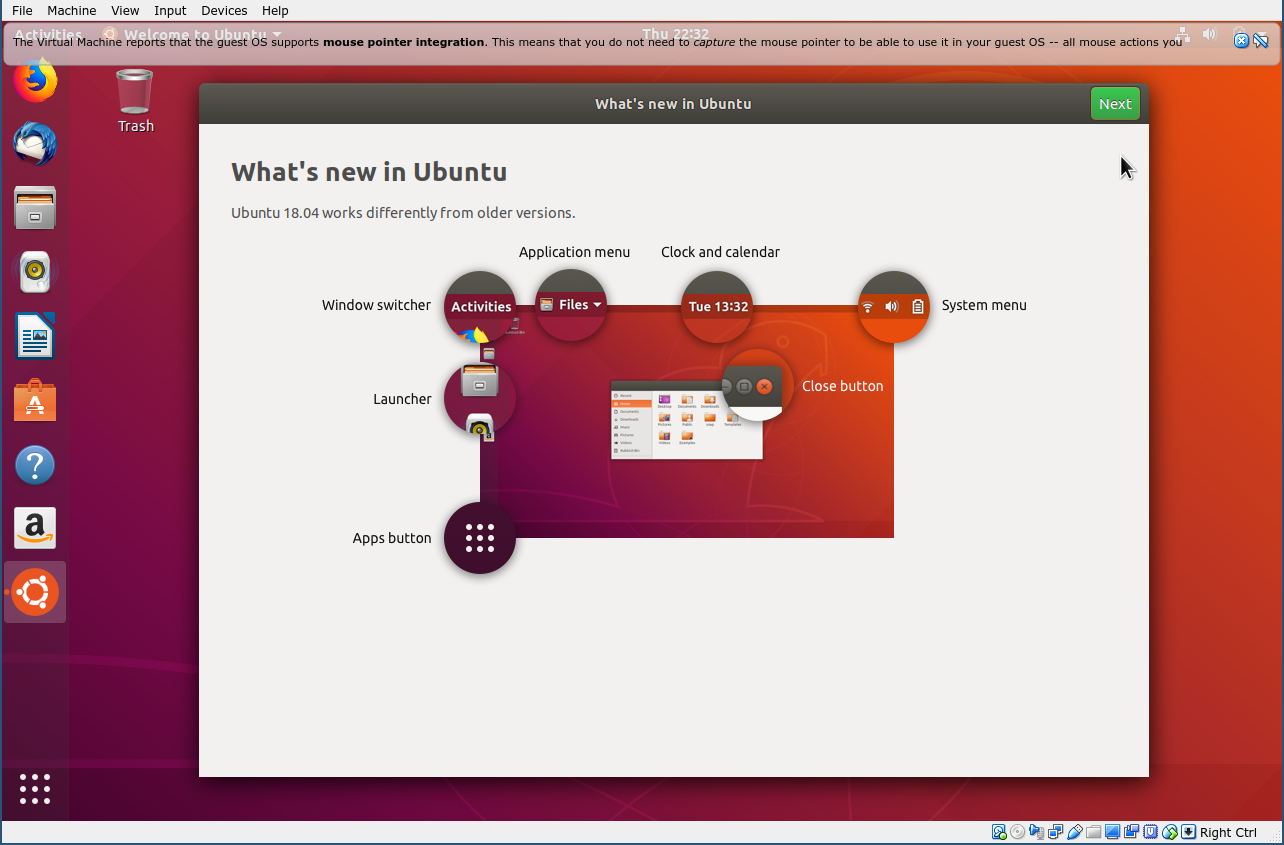
And here you go! Ubuntu 18.04 on a virtual machine on your computer! To shut the VM down, you could either do it from inside Ubuntu by clicking the top right of the bar, or click on File, and Close.
From here you can play around to get a feel for the OS. If there is any interest for me to create more in depth posts using Ubuntu, please feel free to leave a comment. I do plan on writing a “How to install Arch Linux” tutorial for those who like challanges and desire to learn linux with a more “under the hood” approach, so look out for that.
If you liked this tutorial, please let me know by liking and sharing! If you have any questions, please leave a comment and I’ll answer it the best I can. Thank you again and have a wonderful day!
Loading Likes...
i’m new with virtual box. i get the following error when i install and try to start Ubuntu 18.04 Mate 32bit
A critical error has occurred while running the virtual machine and the machine execution has been stopped.
i looked at the log but it doesn’t make a whole lot of sense. i had the same error with Fedora 28 but Win XP and Win 7 works (win actually runs much faster then they did in vmware).
any thoughts or ideas on how to rectify this problem?
i have have VirtualBox Version 5.2.12 r122591 installed on Linux Mint 18.3 on a Dell laptop with a Intel® Pentium(R) CPU P6100 @ 2.00GHz × 2 with 4 Gig of memory. it’s 5+ yrs old but until the recent releases of the newer linux host (17 & 18) i had no problem running 32bit linux or windows in VMWare Player. thus my reason for switching to VB.
Are you seeing this problem just trying to start and install from the Ubuntu Mate 32-bit iso? Or are you running into this problem after you’ve installed Ubuntu Mate and are booting from the virtual hard disk?
@maihoaomv: I was doing some tests and I believe I’ve found the issue. I was able to reproduce not being able to even start the Ubuntu 18.04 Mate 32-bit iso on VirtualBox with the default settings. Right after the iso booted, I saw the Ubuntu Mate splash screen, then the video is garbled mess.
After some sleuthing I found that if I configured the virtual machine’s system settings to have
Enable I/O APICon and give the virtual machine 2 CPUs, the problem goes away and I’m able to install Ubuntu Mate 32-bit, reboot and run the system.Let me know if this fixes the problem! I’ll test with Ubuntu 32-bit proper and see if this is also the case. If so, I’ll make a note in this tutorial to help prevent anyone else running into this problem. Thank you for the question and hope this helps!